The Battle of El Teb 140th Anniversary
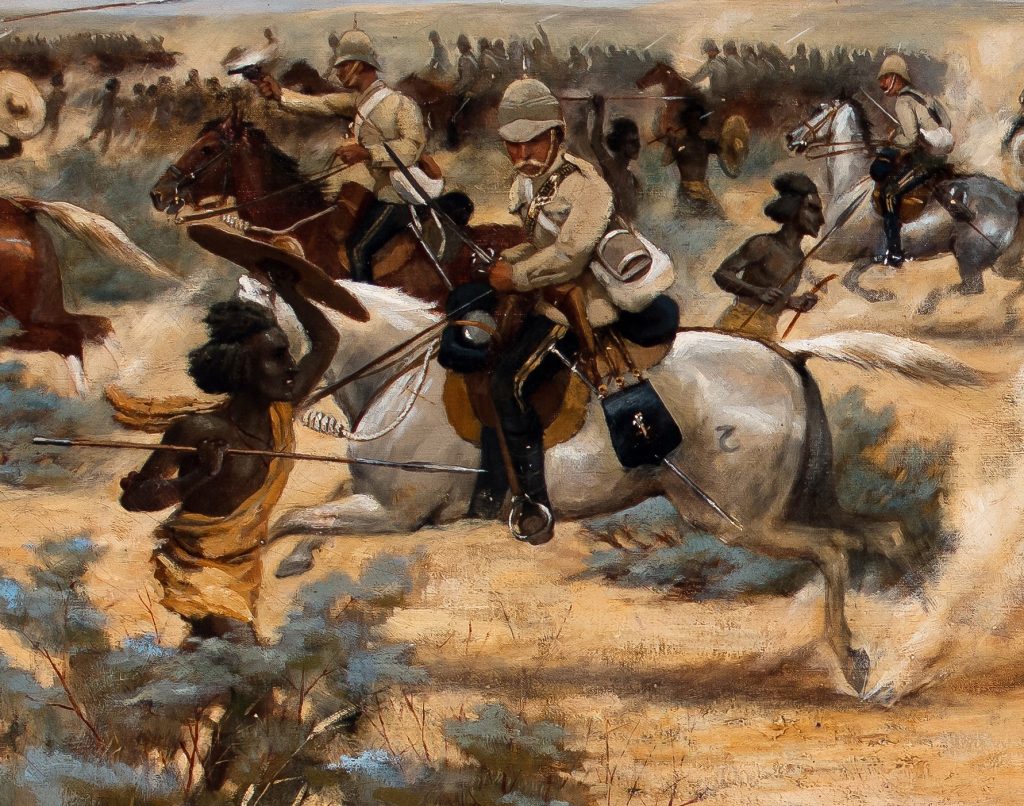
The 10th Hussars at El Teb 140th Anniversary 29 February 2024 This year marks the 140th anniversary of The Second Battle of El Teb, fought on 29 February 1884 during the Sudan Campaign and an important battle in the history of the 10th Royal Hussars. The Second Battle of El Teb was the opening battle of […]
James Curran DCM
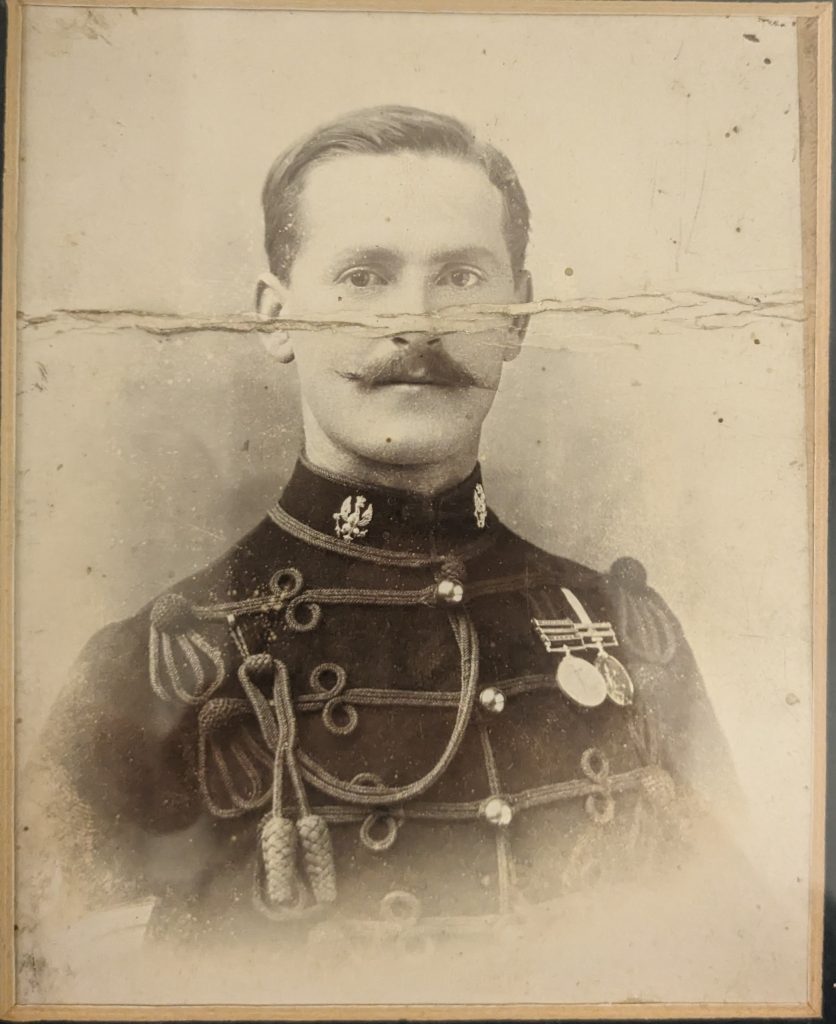
Medals from the Museum – James Curran DCM In our latest highlight we are exploring the story behind one of the fantastic medal groups in the Museum collection, those of Squadron Sergeant Major James Curran DCM. He was born into the 14th Hussars and followed his father into the Army, serving with two predecessors of […]
Brigadier-General C. R. Cureton
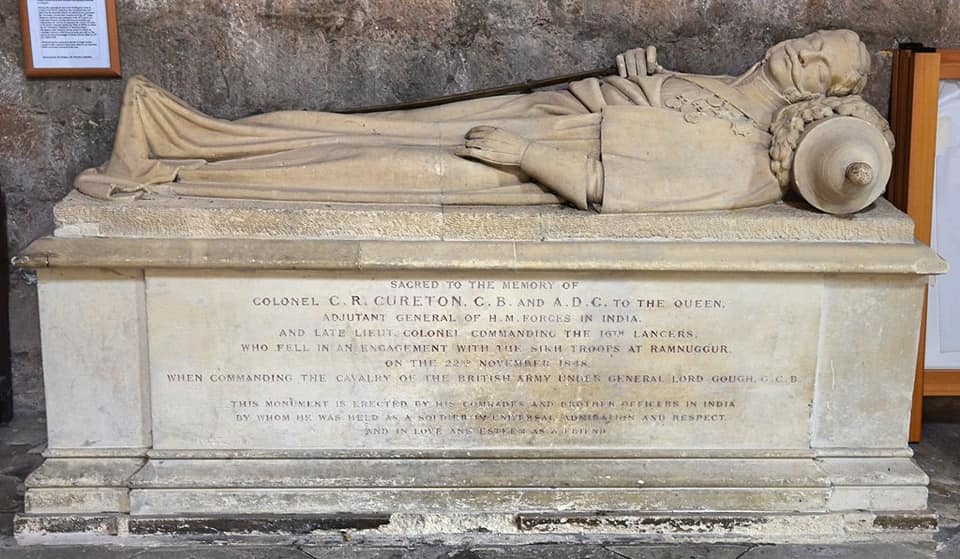
Brigadier-General Charles Robert Cureton One of the ‘Heroes of Ramnuggur’ For the 175th anniversary of the Battle of Ramnuggur [Ramnagar] we have been looking at the incredible life of Brigadier-General Charles Robert Cureton, the highest ranking casualty of the battle, and a soldier whose links with the 14th Light Dragoons began almost forty years before […]
A Letter from Normandy
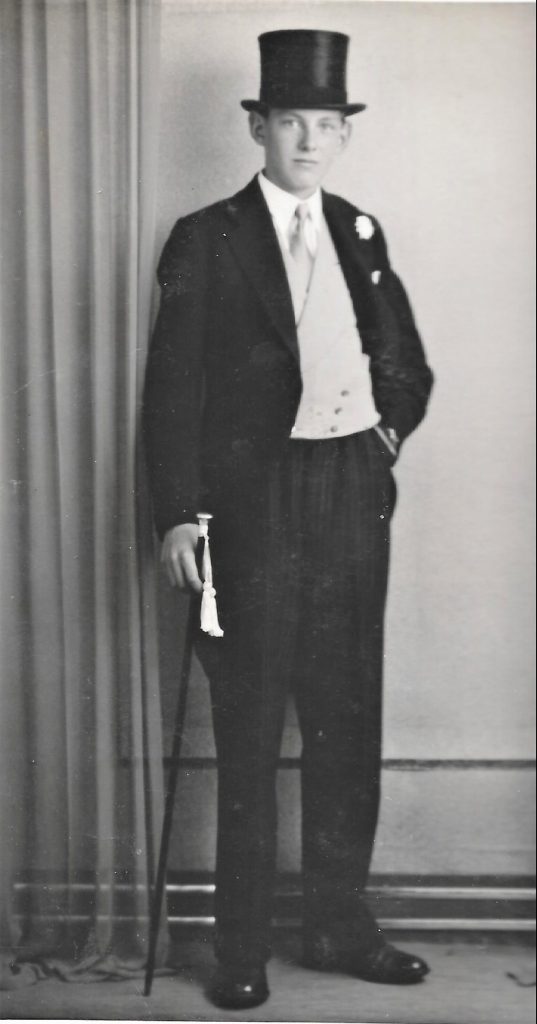
August 2023 – we look at a letter written by a young officer of the 11th Hussars, whose first experience of war was the opening months of the Battle of Normandy.
We look at a letter written by a young officer of the 11th Hussars, whose first experience of war was the opening months of the Battle of Normandy.
A History of Cavalry Memorial Parade
Museum Monthly Highlights – May 2022 A Brief History of Cavalry Memorial Parade Every year, on the second Sunday in May, a Parade and Service is held at the Cavalry Memorial in Hyde Park, London. Organised by the Combined Cavalry Old Comrades Association the Parade is an opportunity for cavalrymen, past and present, to remember […]